How to Make Your Own Custom Connect the Dots Worksheets Online: The Ultimate Guide
Unlock personalized learning and fun! Follow our expert guide to creating a dot-to-dot from any image in minutes.
CREATE YOUR CUSTOM DOT TO DOT NOW - IT'S FREECreating personalized educational content or unique family activities no longer requires advanced software. Our free online dot to dot maker transforms any image—from your child's drawing to a detailed mandala—into a printable puzzle instantly.
This comprehensive guide, written by our in-house design experts, will walk you through the entire process, ensuring your resulting custom connect the dots printable is high-quality and ready to print.
The 5-Step Process to Make Your Custom Dot to Dot
The entire process takes less than a minute. By following these steps, you can create a perfect, professional-looking dot to dot worksheet right from your browser.
-
Image Selection: Start with High Contrast
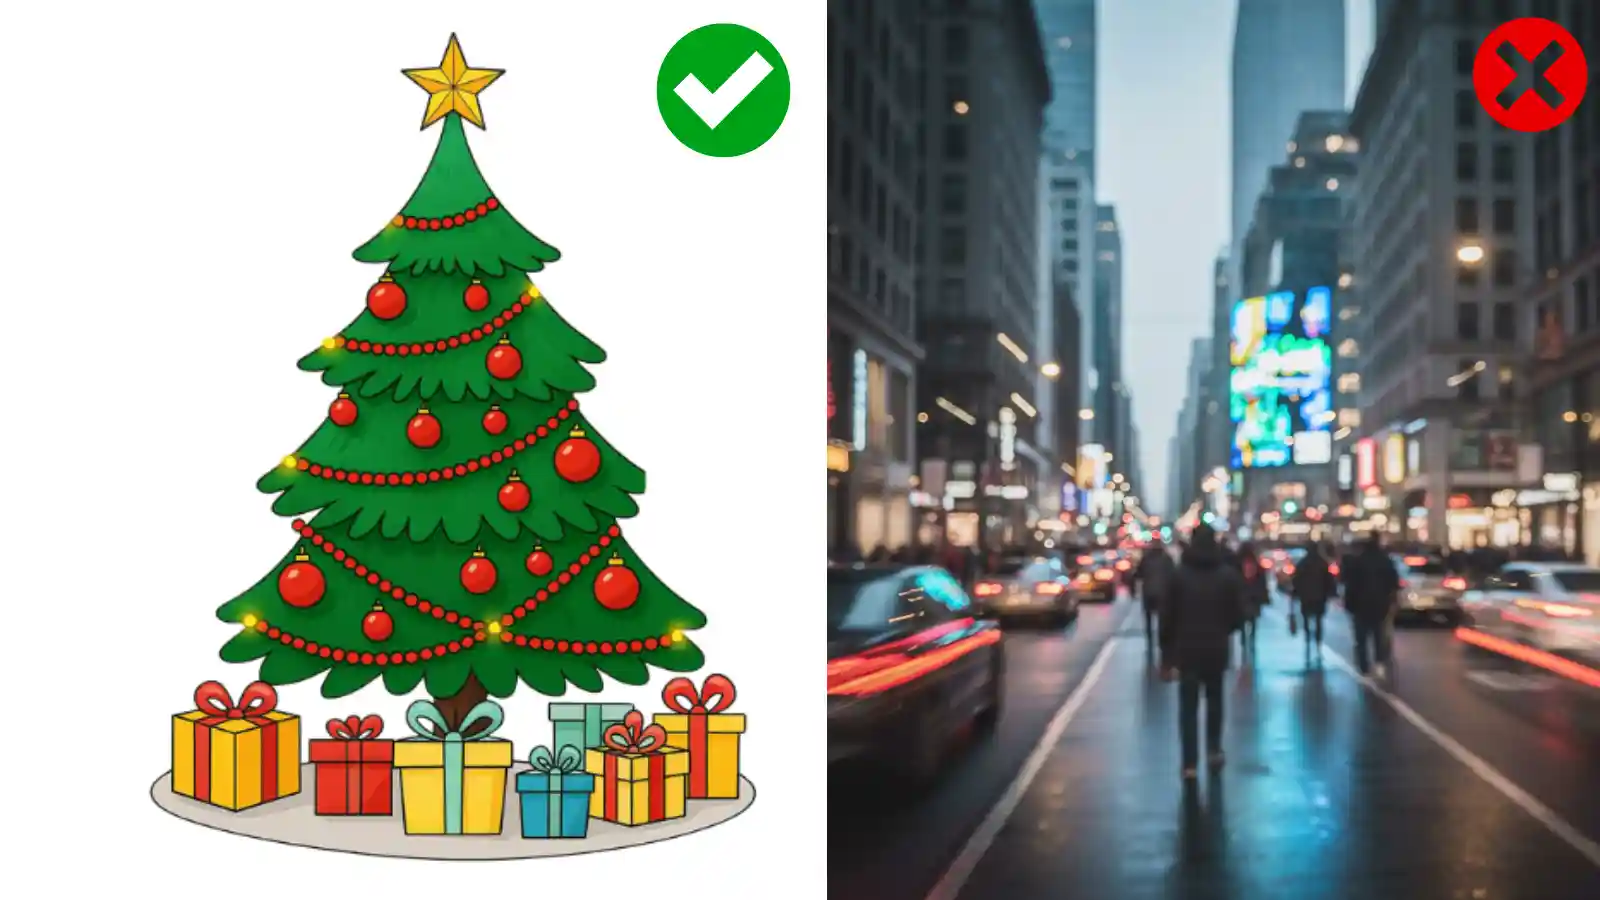
The success of your custom puzzle hinges on the quality of the input image. Choose files with clear, sharp edges. For example, a black-and-white outline drawing will always yield better results than a blurry photo of a busy street.
Our generator works best when it can easily define the primary boundary of the object you want to feature.

-
Access the Free Online Generator
Navigate directly to our Connect the Dots Generator on the main page. The tool is immediately accessible; there’s no need to register or install any software.
Locate the 'Choose File' button to upload your image file (PNG or JPG recommended).
-
Define the Tracing Mode and Difficulty
Once uploaded, you must instruct the dot to dot creator how to interpret your image. Look for the 'Hint Type' and 'Number of Points' options:
- Hint Type: We recommend starting with 'Trace (Outline)' if it's your first time, as it provides a faint outline for reference. For a challenge, select 'No (Dots Only)'.
- Number of Points: This controls the difficulty. For a puzzle featuring simple shapes (like a heart or star), 20-40 points are ideal. For detailed figures or custom portraits, you may need 100+ points to capture the essence.
-
Review and Refine the Dot Pattern
Crucially, review this preview. Are the dots placed along the key features of your image? If the pattern is a little sparse or too cluttered, go back and adjust the 'Number of Points' or use the 'Adjust Threshold' slider to fine-tune the detection sensitivity.
-
Download Your Printable Worksheet
Once satisfied with the preview, click the 'Download PDF' button for the highest quality print results, or 'Download PNG' for digital use.
Your custom-made file is instantly generated, ready to be printed on standard letter paper (8.5" x 11"). Remember, all our generated files are completely free and do not contain watermarks.
Image Best Practices for Maximum Quality
The secret to a perfect custom connect the dots puzzle is optimizing the source image beforehand. Our experts compiled these tips:
Best File Formats and Resolution
While JPG is accepted, PNG files are superior because they handle transparent backgrounds better, reducing noise when the algorithm searches for edges.
Ensure your image resolution is adequate, but avoid excessively large files (over 5MB), which can slow down the generation process.
Tips for Converting Photos to Dot to Dot
Converting a photograph is the ultimate test for any dot to dot maker. If using a photo:
- Isolate the Subject: Crop the image tightly around the person or object.
- Black & White Conversion: Convert the photo to black and white or grayscale first. This forces high contrast.
- Use Filters: Apply a 'threshold' or 'posterize' filter in a basic photo editor to reduce the color palette and create hard lines.
Creative and Educational Applications
Beyond simple entertainment, a personalized connect the dots printable offers immense value:
Tools for Teachers and Educators
Teachers can create review sheets based on lesson plans. Imagine a puzzle of a state map or a historical figure!
By adding complexity, the activity reinforces recognition skills while maintaining student engagement.
Unique Gifts and Party Favors
Create a puzzle of a bride and groom for a wedding shower, or a pet for a personalized gift.
The finished and colored puzzle becomes a heartfelt, custom-made piece of art.
Common Questions
- What is the best type of image to use for the custom dot to dot maker?
- Images with high contrast and clear, simple outlines (like line art, simple logos, or silhouettes) work best. Avoid photos with complex backgrounds or blurry edges.
- Can I use my own photos or drawings to make a dot to dot?
- Yes, absolutely. Our generator is specifically designed to handle personal photos and custom drawings. We recommend ensuring the main subject is well-defined and cropped tightly.
- How is the custom dot to dot generator free?
- Our commitment is to provide high-quality educational resources. The generator is completely free because we believe in accessible learning and creative tools for everyone, without any hidden costs or watermarks.
Ready to put these steps into action? Stop reading and start creating!
GO TO THE FREE DOT TO DOT GENERATOR