Upload a clear subject
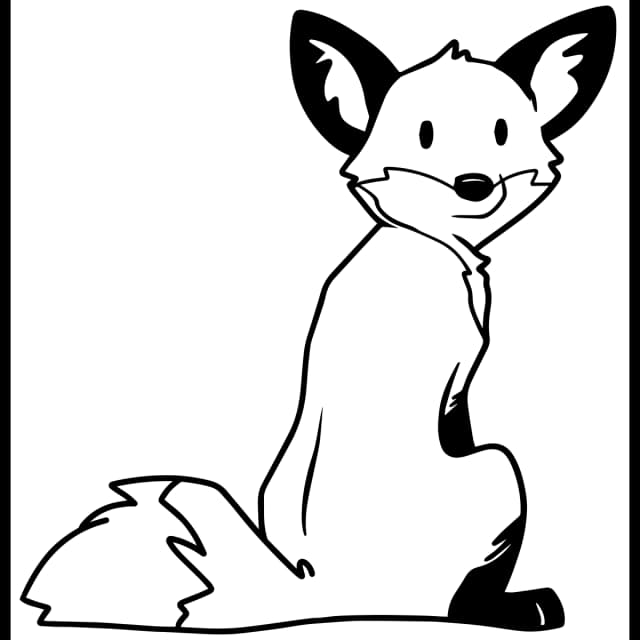
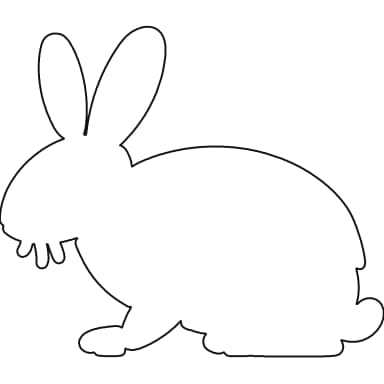
Start with a pet, portrait, logo, or drawing that has one obvious subject and minimal background clutter.
Photo conversion landing page
Turn a photo into a printable dot-to-dot worksheet by starting with a clear subject, choosing a dot count that matches the learner, and exporting a puzzle that still reveals the image cleanly once the dots are connected.
Last updated: May 21, 2026
Start with a pet, portrait, logo, or drawing that has one obvious subject and minimal background clutter.
Set a lighter dot count for younger users or a denser count when you need a more detailed printable result.
Check whether the dots follow the outline naturally before you export the final puzzle.
Export the worksheet once it reads clearly and print it on standard paper for class, home, or gift use.
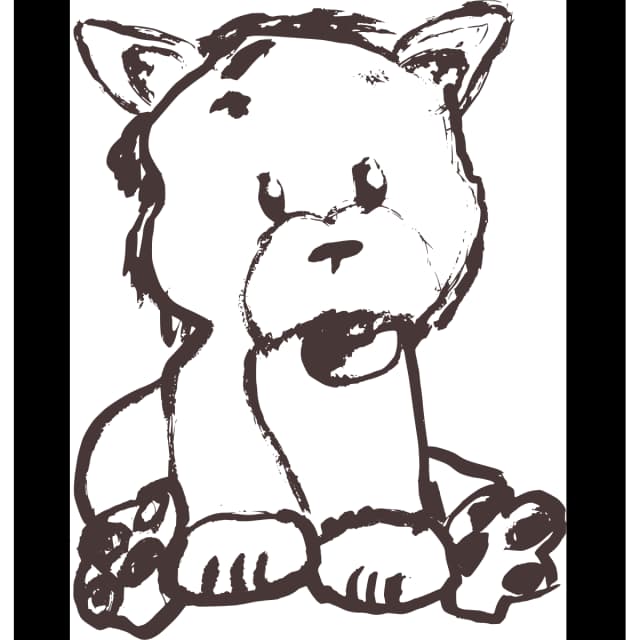


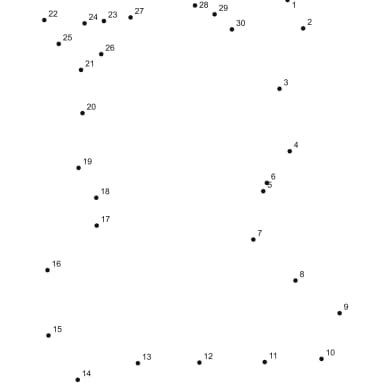
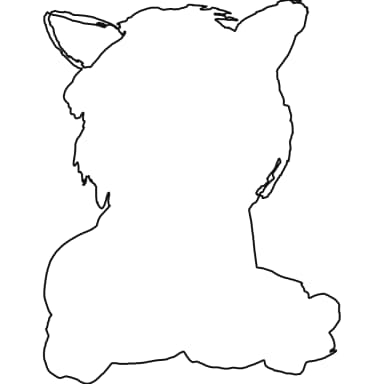
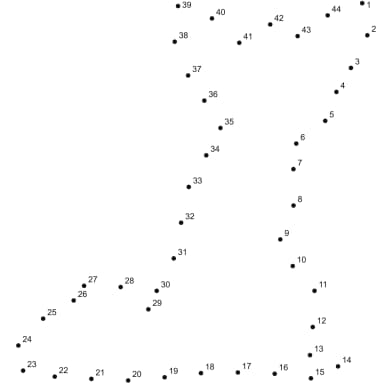
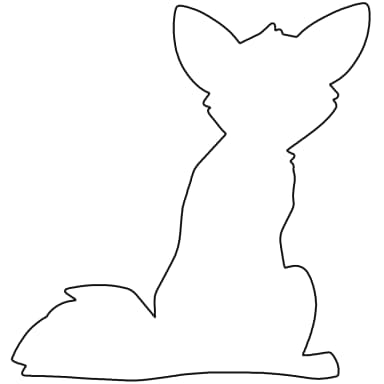
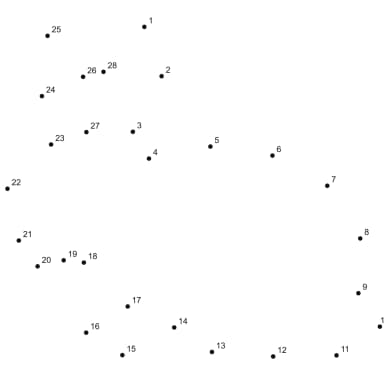
Original image, printable dot pattern, and solved outline are shown together so a user can immediately understand what the tool produces and how close the final puzzle stays to the source image.
A photo-to-dot-to-dot workflow works best when the subject is obvious and the outline can survive simplification. Upload the image, choose a dot count that matches the learner, and review the preview before exporting the printable file. The goal is not to keep every photo detail. The goal is to preserve a clean path that still reveals the subject clearly when the dots are connected.
Single-subject pet photos, portraits with strong side profiles, simple logos, and cartoon-style images usually work best because their edges are readable. Photos with heavy shadows, textured backgrounds, or multiple overlapping subjects often produce messy dots and weaker printable results unless you crop and simplify them first.
Dot count changes both difficulty and shape fidelity. Lower counts produce faster worksheets for younger users, while higher counts keep more detail for older learners and adults. Hint style matters too: an outline-assisted preview is easier for beginners, while dots-only pages create a cleaner challenge for advanced users.
A good source image already behaves like a strong printable outline before it enters the tool. That is why side-profile pets, simple portraits, logos, and clean drawings perform better than crowded real-world photos.
Some images fight the generator because they contain too many visual edges or too little subject clarity. Those files can still work, but they often need manual cleanup before the output feels worth printing.
A strong photo-to-dot-to-dot page needs to explain the output, not just the feature. The goal is a printable worksheet that still holds its shape after the image is simplified into dots. That means the result should have a readable sequence, enough white space around the labels, and a final outline that still feels connected to the original subject when someone completes the page.
The generator reduces visual noise so the worksheet is usable on paper, not only on screen.
You can keep the result simple for kids or denser for older learners and adults.
The finished page feels personal or topic-specific instead of generic.
Choose the dot count based on who will use the worksheet and how much shape detail you need to preserve. Matching the dot range to the audience makes the printed result easier to read and more useful.
| Audience | Recommended dots | Best source images | Typical result |
|---|---|---|---|
| Preschool / early counting | 15-30 dots | simple animals, icons, bold worksheet shapes | fast printable activity with very clear outlines |
| Elementary worksheet use | 30-60 dots | pets, classroom drawings, simple portraits | balanced page with more detail and readable numbering |
| Older kids / adults | 60-120+ dots | clean profile photos, logos, denser illustrations | more detailed printable puzzle with longer focus time |
Most quality problems come from weak source preparation, not from the idea of using a photo. A quick cleanup pass before upload usually improves the final worksheet more than endless preview tweaking.
These examples show how different source images convert into printable dot paths and solved outlines, so you can judge which image types are easiest to turn into a clean worksheet.
Pet photos work when the subject fills the frame and the silhouette is easy to trace.
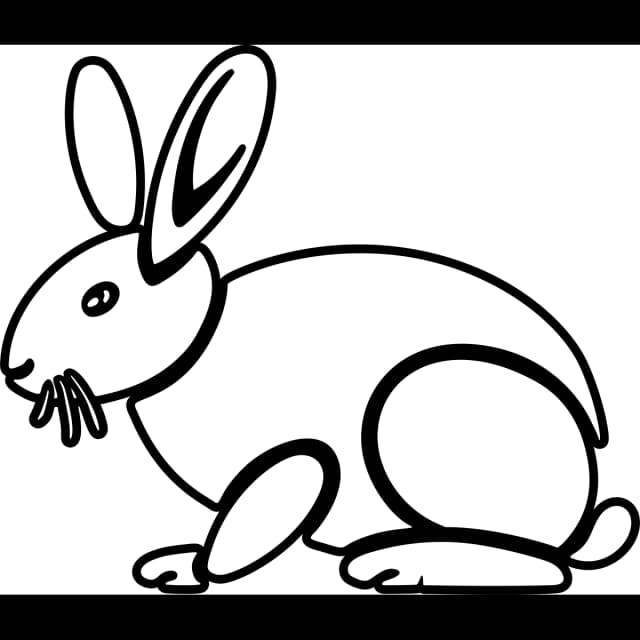
Cartoon or outline images produce the cleanest dot paths because the edges are already simplified.
Worksheet-style shapes are useful for younger learners who need a fast printable activity.
Turn lesson visuals, mascots, themed icons, or student artwork into worksheets that feel tied to the topic instead of pulled from a random printable pack.
Use pet photos, favorite objects, or family drawings to create personal dot-to-dot pages that feel more special than a generic activity sheet.
Use cleaner source art and controlled dot counts when building themed printable pages that need to feel deliberate, reusable, and product-ready.
Too many stray dots: crop the subject tighter and remove background noise.
Subject loses its shape: raise the dot count until the key curves stay readable.
Numbers feel too crowded: reduce the dot count or export a larger printable layout.
Preview still looks flat: switch to a higher-contrast source image or a cleaner outline version.
The strongest results come from images with one clear subject, strong edges, and very little background distraction. Pet profiles, logo-like shapes, simple portraits, and line drawings are ideal because the generator can trace the main contour cleanly instead of trying to interpret dozens of unrelated edges.
A professional-looking printable result usually comes from three things working together: a clean source image, a dot count that matches the complexity of the subject, and a final preview where the number labels still have space to breathe. If the picture is too detailed for the selected dot count, the result looks thin or confusing on paper.
Yes. Once the preview is balanced, you can export the worksheet and print it on standard paper. It helps to check print preview before sending the file to the printer so the outline stays centered, the number sequence remains readable, and the page still works as a clean classroom or home activity.
You get a printable dot-to-dot worksheet based on your source image, not just a rough preview. The point of the workflow is to produce a page that still reads clearly when printed, with a usable dot sequence, enough spacing for the labels, and a final shape that feels intentional rather than randomly traced.
Use the generator when the exact source image matters and a generic worksheet library is not enough. If you want the deeper tutorial version, read the how-to guide. If you want the faster product route, open the generator now.